My 8 year old is amazingly creative and started her own jewelry making business when she was only 5 years old. If you want to know more about how she started her Princess Accessories business, you can find my post about it here. If you are interested in knowing more about what her 4 and 6 year old siblings are doing with their businesses, you can find my posts about her brother’s Rock Treasures business and her sister’s crafts at the attached links. You won’t want to miss out on the rest of this series either, starting with my post on our first fall craft sale.
Today I want to tell you about how Princess started making headbands, and show you how to do what she has been doing.
Today I want to tell you about how Princess started making headbands, and show you how to do what she has been doing.
We were at a craft sale last fall where Karen, from Wood River Creations, had a table with the jewelry that she makes. Included on her table, were beautiful, flower headbands. Nearly every little girl who walked by had one of those headbands on. Princess loved them too, of course. I bought her one and suggested she talk to Karen to find out how to make them herself.
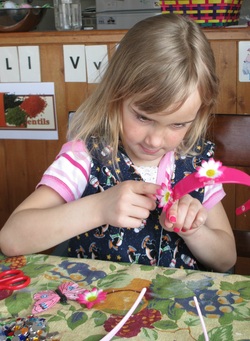
We bought some plain headbands at Walmart and some silk flowers at the Dollar Store. I also bought her a cool glue gun to work with. When I gave her the supplies, she sat down and spent the next three days making headbands! If she had not run out of headbands, she would have kept going! I suggested she wait until she sold what she had already made before buying more.
We bought some plain headbands at Walmart and some silk flowers at the Dollar Store. I also bought her a cool glue gun to work with. When I gave her the supplies, she sat down and spent the next three days making headbands! If she had not run out of headbands, she would have kept going! I suggested she wait until she sold what she had already made before buying more.

Here is how Princess makes them.
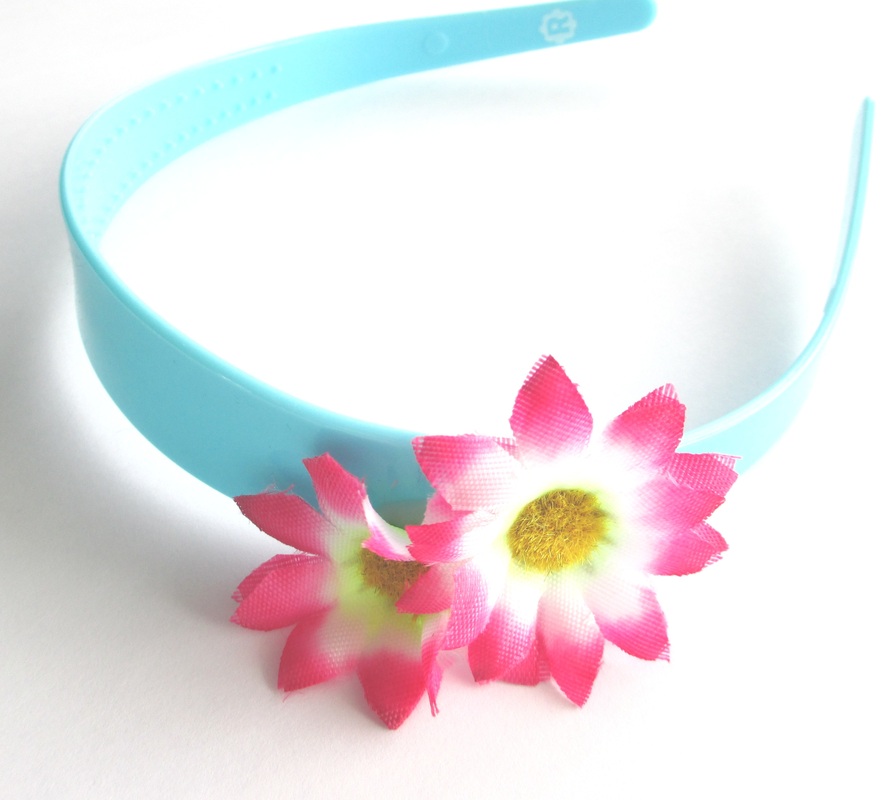
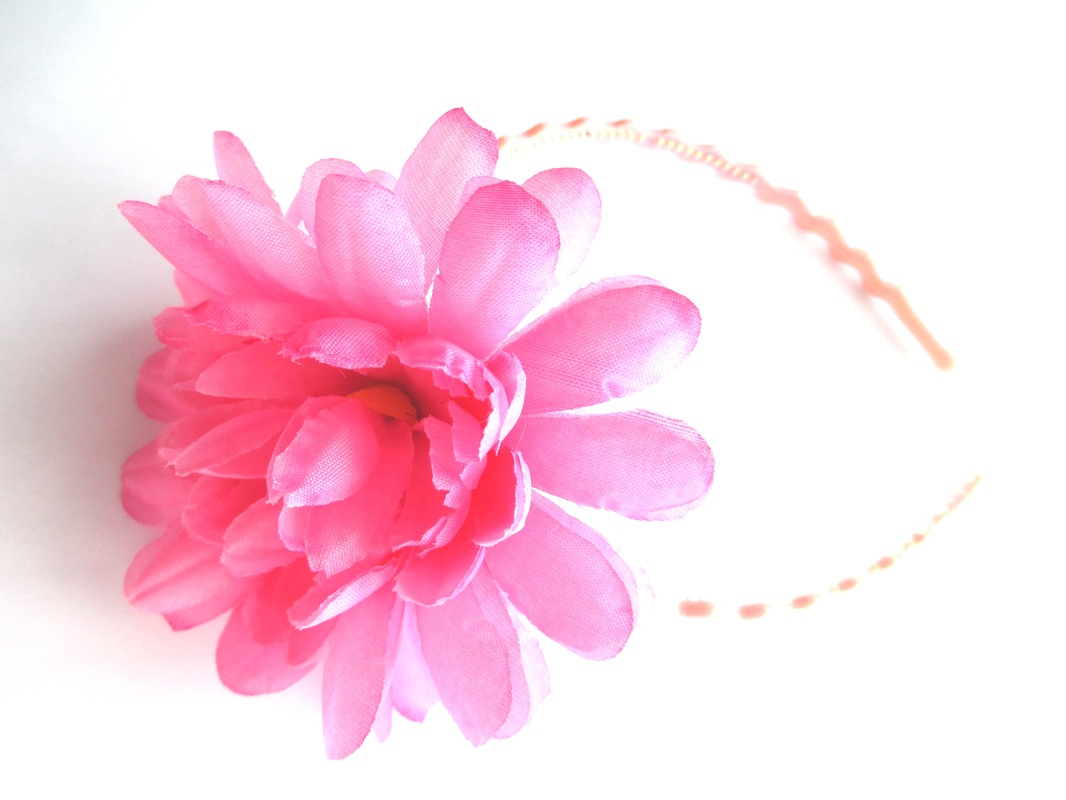
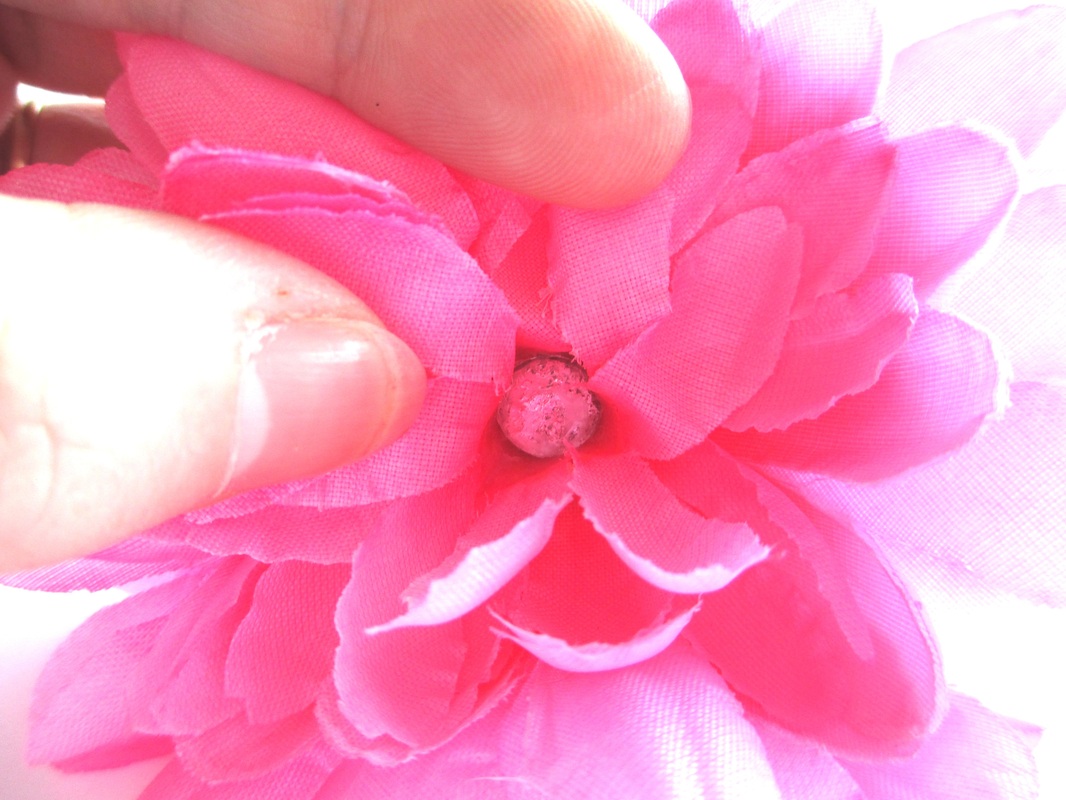
First she cuts the flower heads off. We learned that after the big flower heads are cut off, they fall apart, so if you are going to try it, make sure you glue each layer together before attaching it to the headband.
First she cuts the flower heads off. We learned that after the big flower heads are cut off, they fall apart, so if you are going to try it, make sure you glue each layer together before attaching it to the headband.
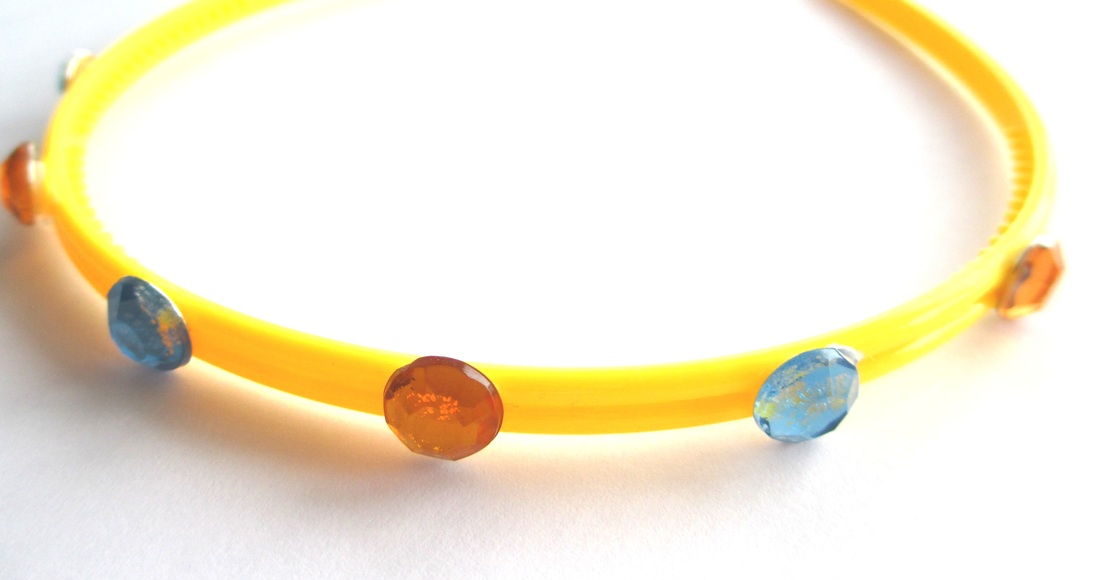
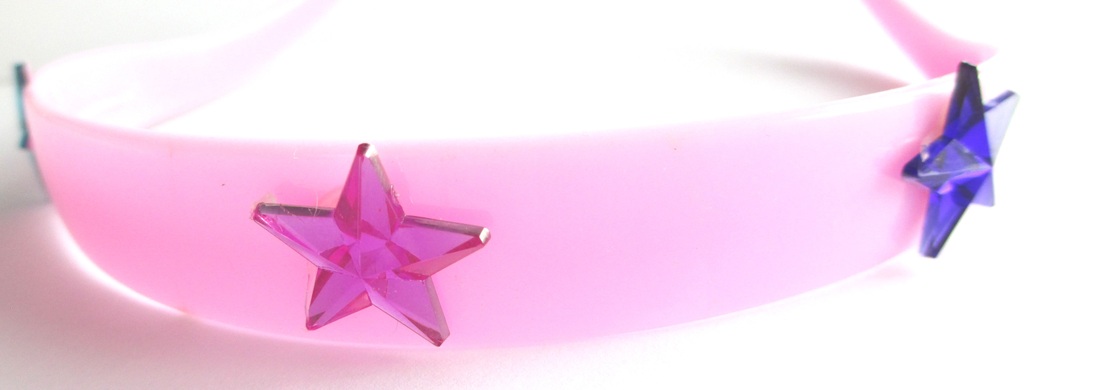
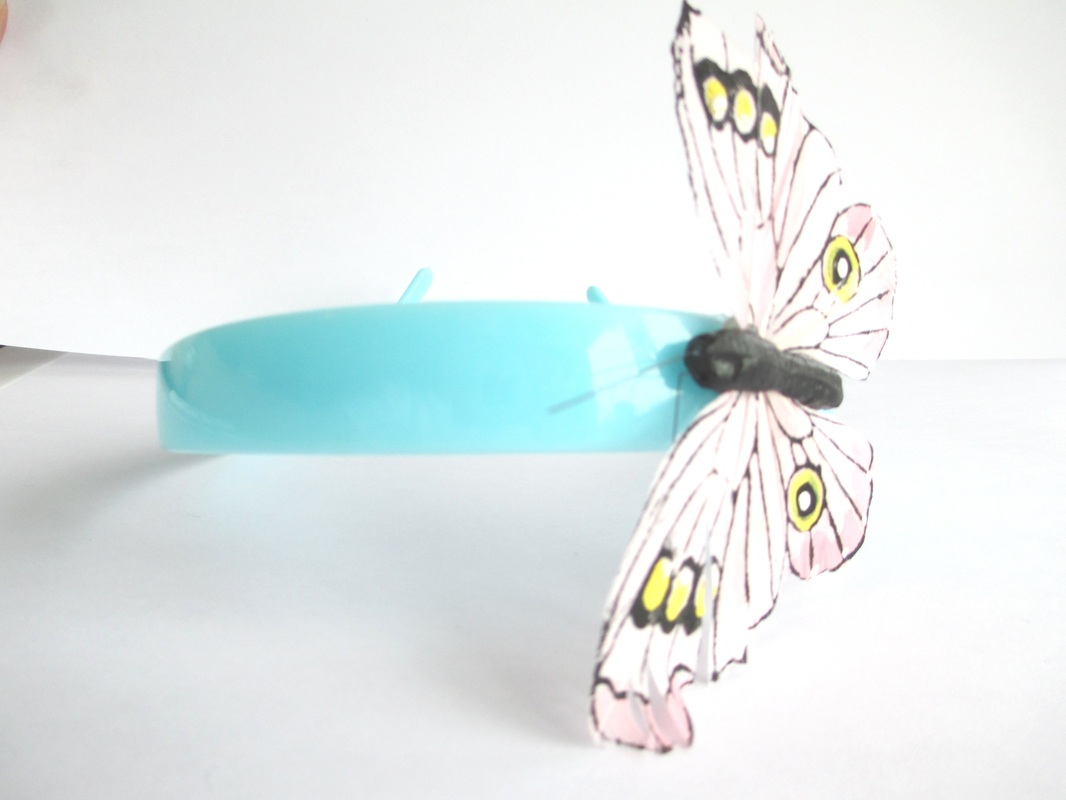
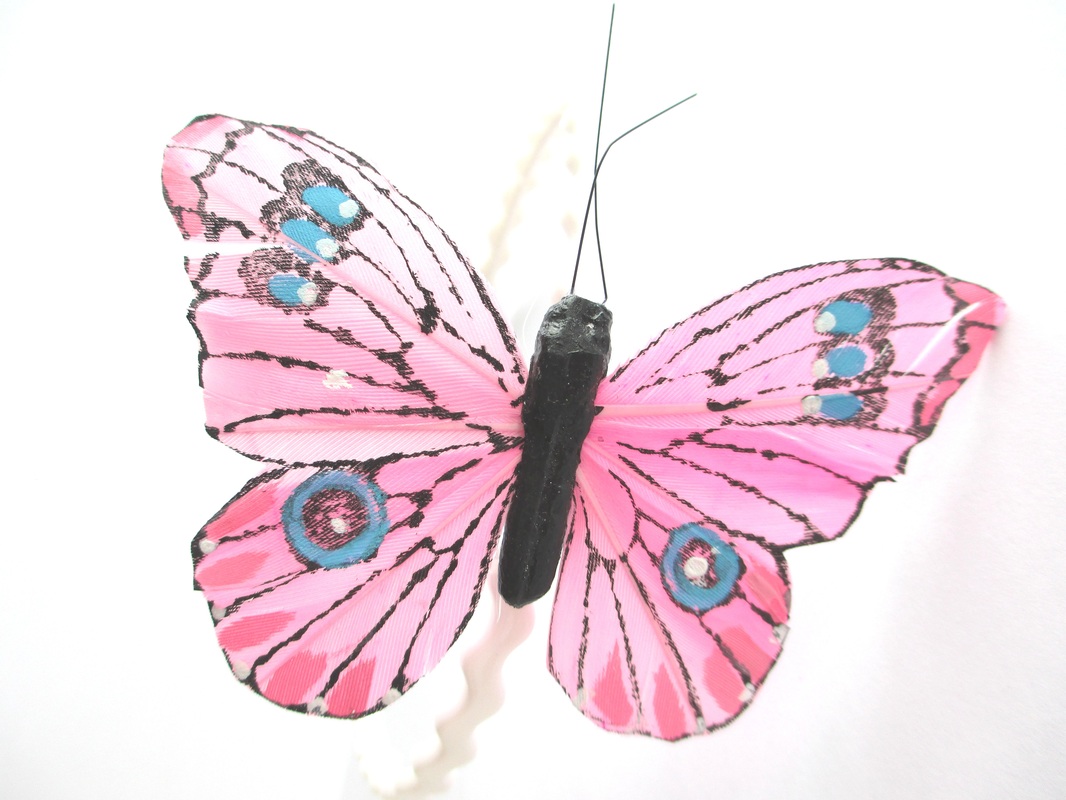
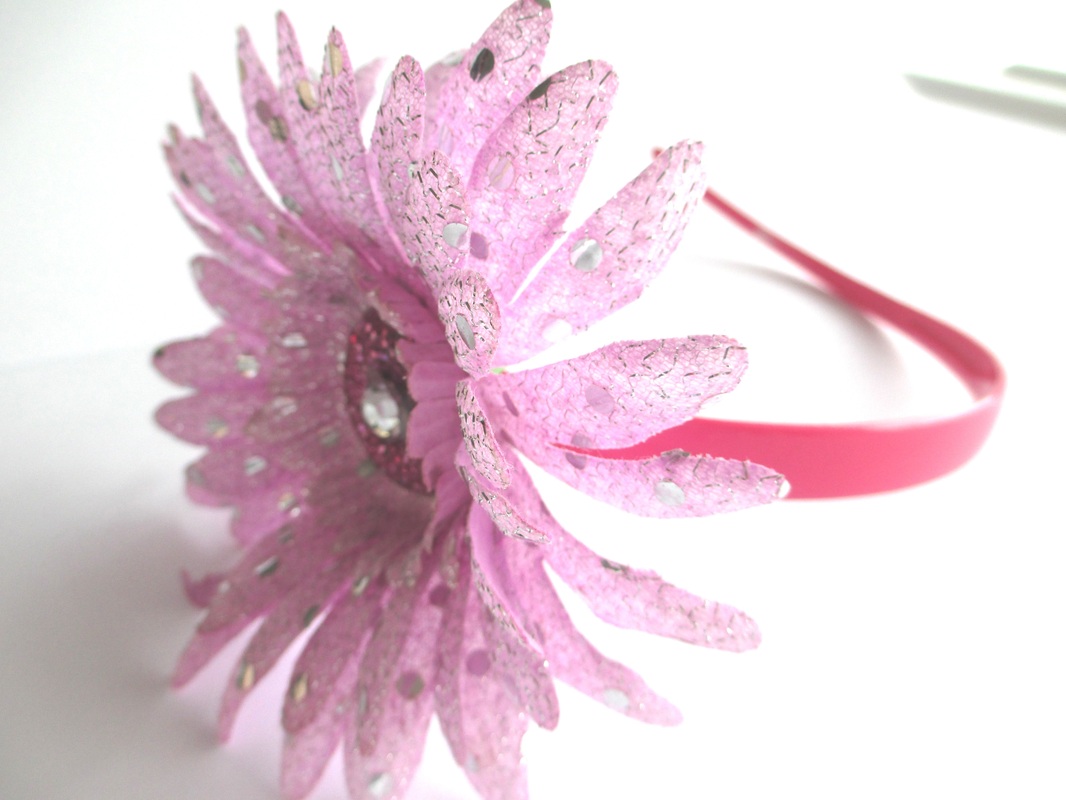
When it is time to attach the flower to the headband she first figures out where she wants to put it and how she wants to arrange them if there are more than one or if she’s using jewels. Sometimes she adds some bling, like in the last photo above. Then she uses the glue gun to attach them. At first she used the cool glue gun, which doesn’t work too bad, but we found that they sometimes fall off then, and I have since read that that is normal with a cool glue gun. But it was a good way for her to learn how to use a glue gun without burning her fingers. With a hot glue gun she now has a bowl of water at the table so she can dip her fingers in it. She needs to do that because she uses her fingers to wrap the glue around the headband and smooth it out, to help prevent the glue from coming off the headband.
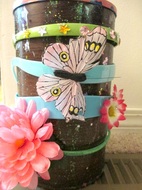
Princess also decorated an empty ice tea container to display her headbands on. First we put contact paper around it and then she decorated it with glitter glue. She painted the lid pink and used glitter glue on it too.
The headbands are fairly cheap to make and she had a great time making them! Maybe your little princess would like to make some too :) If you try it, I would love to hear about it and even see her creations. Feel free to post pictures on my Facebook page if you make some :)
If you enjoyed this post, please share it with others so they can enjoy it too!
You may also want to sign up for my email up-dates
and follow Dot-to-Dot Connections on Facebook or Pinterest.
This post is linked to these Link Parties and Blog Hops.
Come join us for more great posts!
   | 
|


 RSS Feed