My 8 year old Princess loves anything creative! In a previous post I wrote about how she started taking a cake decorating course at Bulk Barn. She LOVES it!!! My next few posts will be about what she learned in the rest of the course.
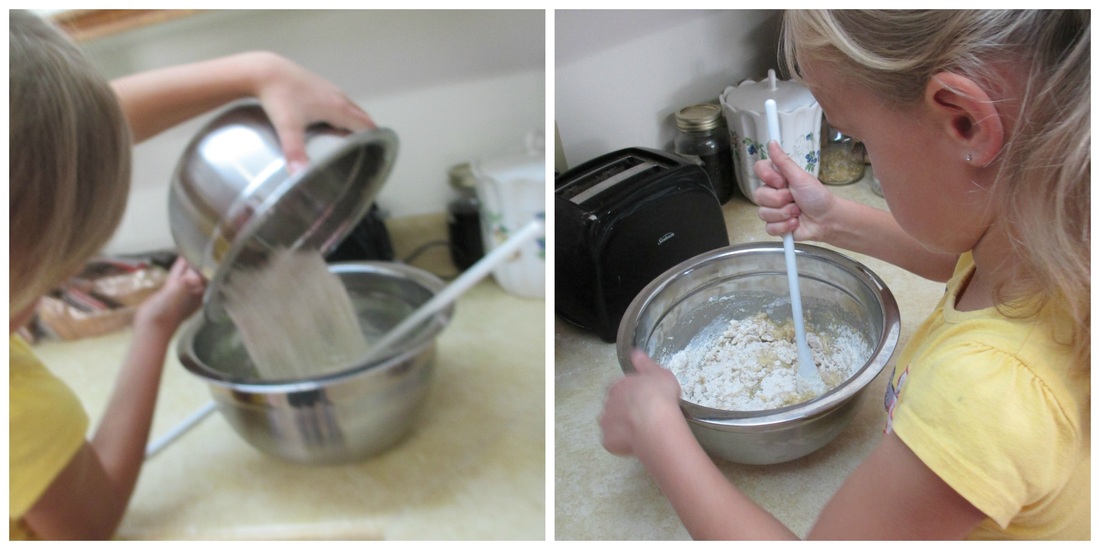
Unfortunately, I forgot to take my camera to Princesses' second cake decorating class, so I don't have any pictures of her at her class :( But, I can still tell you what she did. She started at home by baking a cake from scratch. She took her cake to class and the first thing she had to do was cut the cake in half and put filling in the middle of it, just as the instructor had demonstrated in the first class. That is when we found out the hard way that cakes made from scratch are harder to cut with the cake leveler. But, we managed it with only a small chunk being wrecked, (and the icing completely covered it so nobody could tell anyway.) Princess put cherry pie filling in her cake, put the top back on and then iced it.
While the icing was hardening, Princess learned about the importance of holding the bag in the right position. She also learned about how much pressure to use while squeezing the bag. She practiced making curving lines, tight zigzags, dots and elongated shapes on her practice board.
Once that was done she smoothed the icing on her cake. To do that she placed a piece of parchment paper over the cake and lightly rubbed her icing smoother over the wax paper.
Then she traced a picture of a cupcake onto parchment paper with a pencil, turned it around so the pencil drawing was facing down, and used piping gel to trace the pencil drawing on the other side of the parchment paper. She turned it over so the piping gel was facing towards the cake and was supposed to gently rub the piping gel onto the cake with a small brush. I was not paying as close attention as I should have at that point and turned to see her rubbing furiously on the cake with the brush! Oops! I stopped her and showed her how to do it properly, and hoped it would still work :) Some of the icing did peel off when she tried to take the parchment paper off and the instructor had to help her get it off without wrecking everything, but you could still see the basic outline of the cupcake.
Then Princess got to use the elongated shapes to make the bottom of the cupcake. She forgot that she wanted to do the bottom of the cupcake a different colour than the top and ended up with a completely yellow cupcake, except for the cherry on top, but I think it still turned out decent, despite having to squeeze every last, little bit of icing out to try to have enough to finish the cupcake with only the one colour. Princess finished decorating her cake with dots, just for fun.
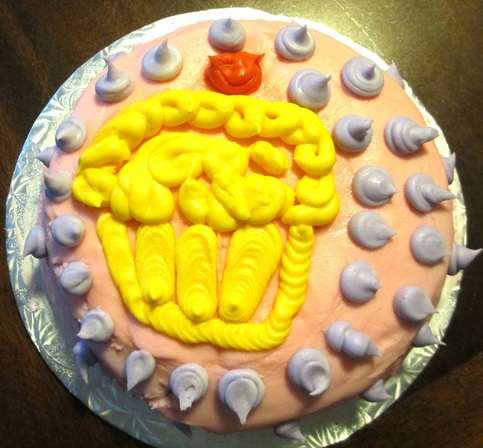
Here is her final product! It was yummy!
I now have a Pinterest board for Cake Decorating. This blog series will be added to that board as I post about each of her cake decorating classes.
I now have a Pinterest board for Cake Decorating. This blog series will be added to that board as I post about each of her cake decorating classes.
If you enjoyed this post, please share it with others so they can enjoy it too!
You may also want to sign up for my email up-dates
and follow Dot-to-Dot Connections on Facebook or Pinterest.
Check out these great deals from Educents!
 FREE 7 day trial, for a limited time only! |  75% off of this clipart bundle, including clipart from 19 clipart artists! |
This post is linked to the following linkies.
Come join us to read more great posts!
.jpg)  |   |   |  |


 RSS Feed